Customize your organization
Your Convay workspace should look and behave like your organization—not the other way around.
With a few choices up front, you’ll get consistent meetings, cleaner governance, and fewer support tickets.
Start with identity
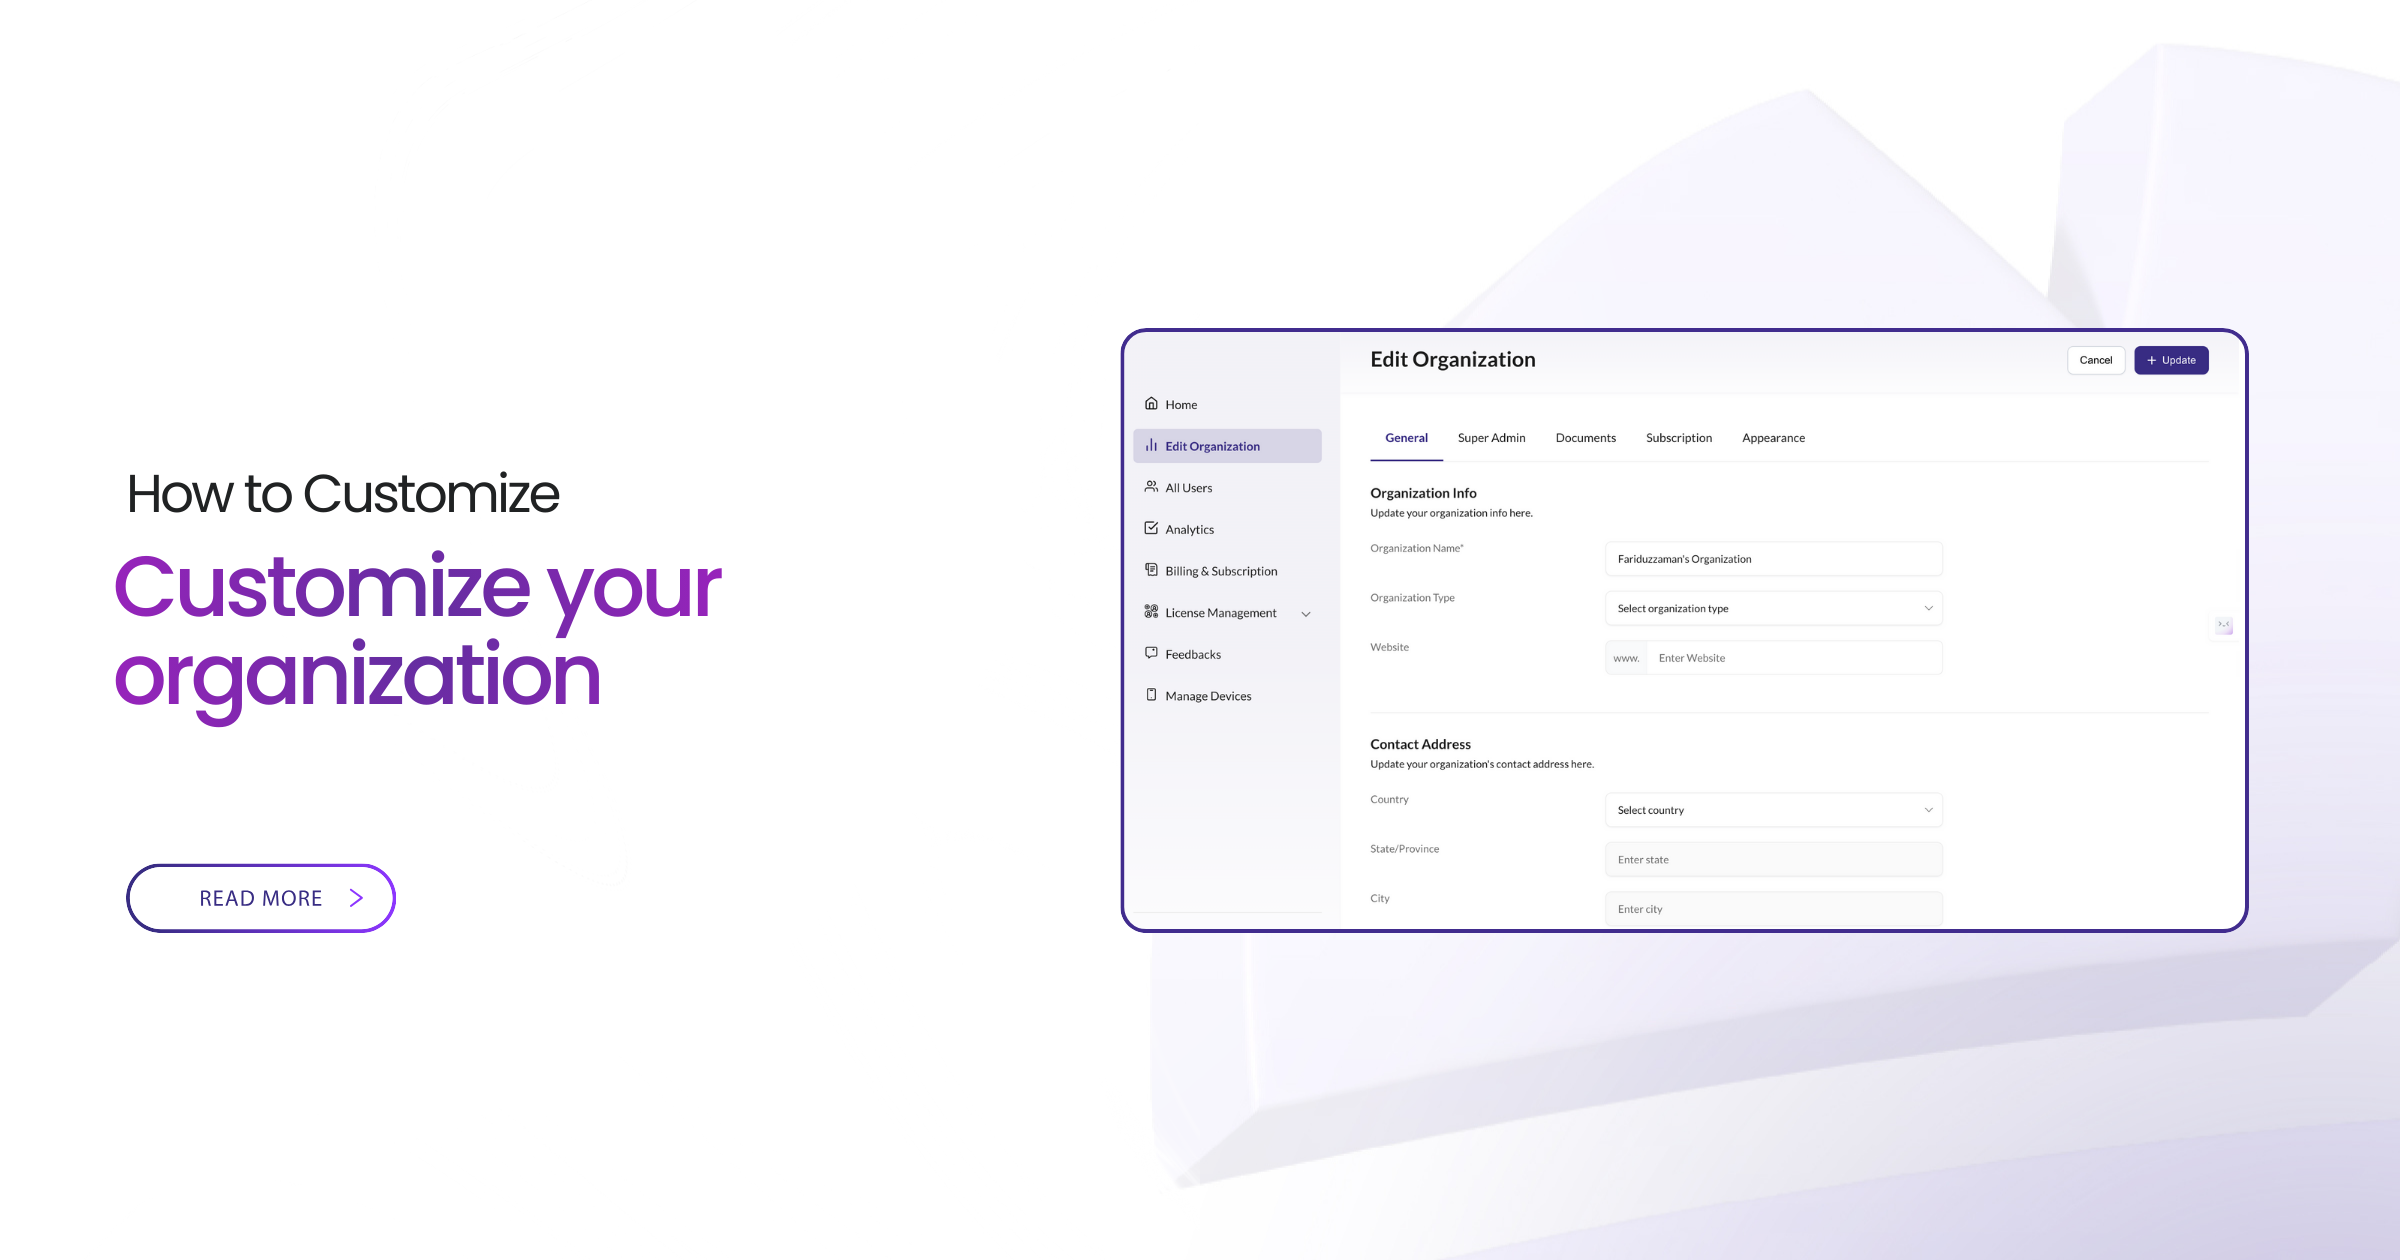
Head to Admin → Organization. Upload your logo, pick a brand color, and set the organization name that appears on invitations and meeting spaces. It’s a small change that makes your workspace feel official to employees and guests.
- Use your primary logo (horizontal version works best).
- Choose a brand color with good contrast for text and buttons.
- Match the organization name to how it appears in email signatures and HR systems.
Make access simple (and safe)
Connect SSO (Azure AD/Entra, Okta, Google) so people sign in the same way they sign in everywhere else. If your IdP supports it, enable SCIM so new hires get accounts automatically and leavers lose access without a help-desk round-trip.
Single sign-on (SSO)
Configure SSO so users authenticate via your identity provider. This reduces password reset noise and applies your existing security policies.
SCIM provisioning
Turn on SCIM to auto-provision and deprovision Convay accounts based on HR changes—no manual account cleanup required.
Define who can do what
Use roles and permissions to match how you work. Decide, by role:
- Who can create meetings?
- Who can record or share screens?
- Do external guests need approval?
Keep defaults strict and relax where it makes sense—for example, more open for internal standups, tighter for executive reviews.
| Area | Good default | When to change |
|---|---|---|
| Meeting creation | All employees | Restrict for heavily regulated teams |
| Recording | Hosts and co-hosts only | Disable for highly sensitive boards |
| Screen sharing | Hosts/co-hosts by default | Open for collaborative workshops |
| External guests | Allowed with lobby | Require approval for sensitive groups |
Set the guardrails once
Policies keep sensitive content where it belongs. Configure them once so every new meeting starts with the right defaults.
Lobby
Turn Lobby on for external or mixed-attendee meetings so guests wait for host approval before joining.
Watermarking
Enable watermarking for board, finance, or confidential sessions so shared content has a visible identity tag per viewer.
Screen share defaults
Keep hosts/co-hosts as the default presenters; open it only when you expect many people to share.
Recording behavior
Decide whether recording is off by default, allowed for hosts, or restricted to specific groups. Require consent where policy demands it.
Retention & legal hold
Set recording and transcript retention (e.g., 90 days) and enable legal hold for regulated teams that must keep certain sessions longer.
Plug in the tools you already use
Connect Outlook/Google so every invite has a one-click Convay join link. Wire up CRM, ERP, or LMS via APIs or webhooks so attendance, notes, and action items land where work continues.
- Calendar plugins: automatic Convay links in meeting invites.
- CRM/ERP: log attendance or decisions back into core systems.
- LMS: sync sessions and completion for training programs.
Prove compliance when asked
Send logs to your SIEM and confirm you can see the events that matter: join/leave, recording, policy changes, exports. When audits happen, you’ll have evidence instead of headaches.
Roll out the right way
Pilot with a small group, fix the sharp edges, then enforce SSO and finalize policies. Tell teams what changed and why—adoption goes up when people know the defaults.
- Pilot: start with IT, one business unit, and a few power users.
- Refine: adjust policies based on real feedback.
- Enforce: turn on SSO, SCIM, and organization-wide defaults.
- Communicate: share what’s new, how to join, and who to call for help.
A few thoughtful choices here pay off in every meeting: fewer exceptions, fewer support tickets, and a workspace that feels truly yours.
